
In a world where information is king, transcription services have become an invaluable asset for various industries and individuals alike. Whether you're a journalist, researcher, or someone who simply wants to convert spoken words into text, Qanda provides a user-friendly platform that makes transcription a breeze. In this comprehensive guide, we'll walk you through the process of creating a transcription using Qanda's intuitive features.
Step 1: Setting Up Your Qanda Account
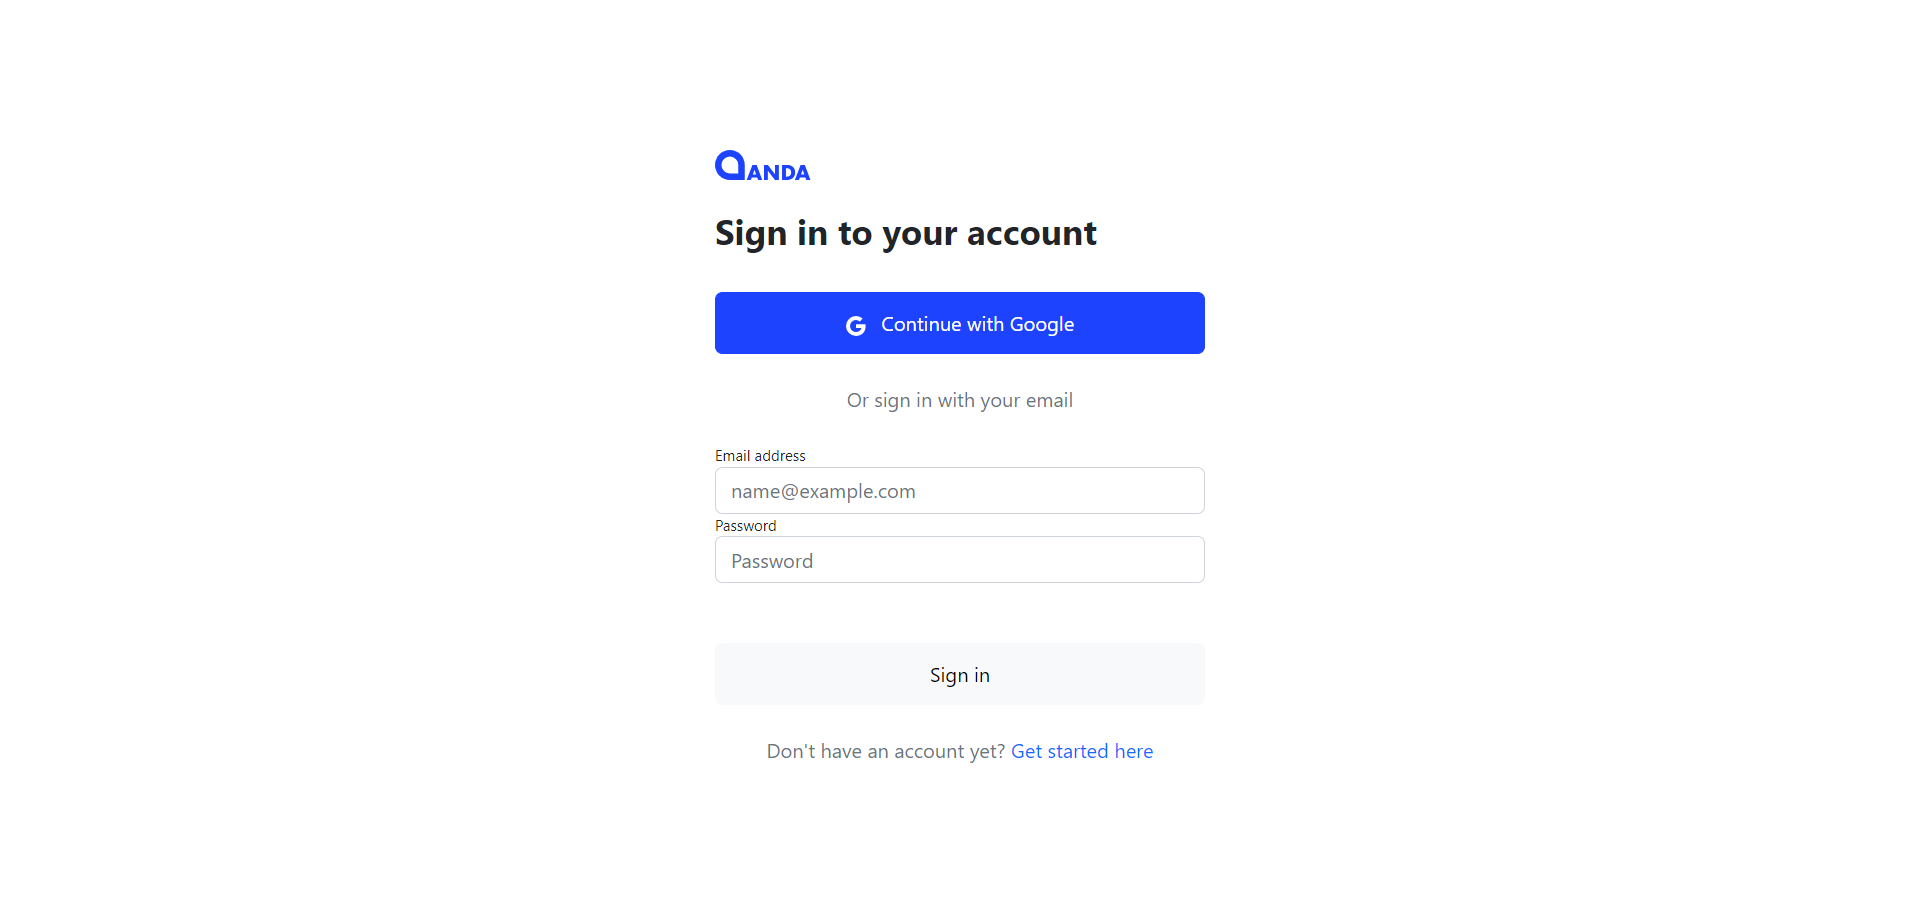
Before diving into transcription, you'll need to create a Qanda account. The good news is, you get 3 hours of free transcription every month! Simply sign up on the Qanda website, and you're ready to roll.
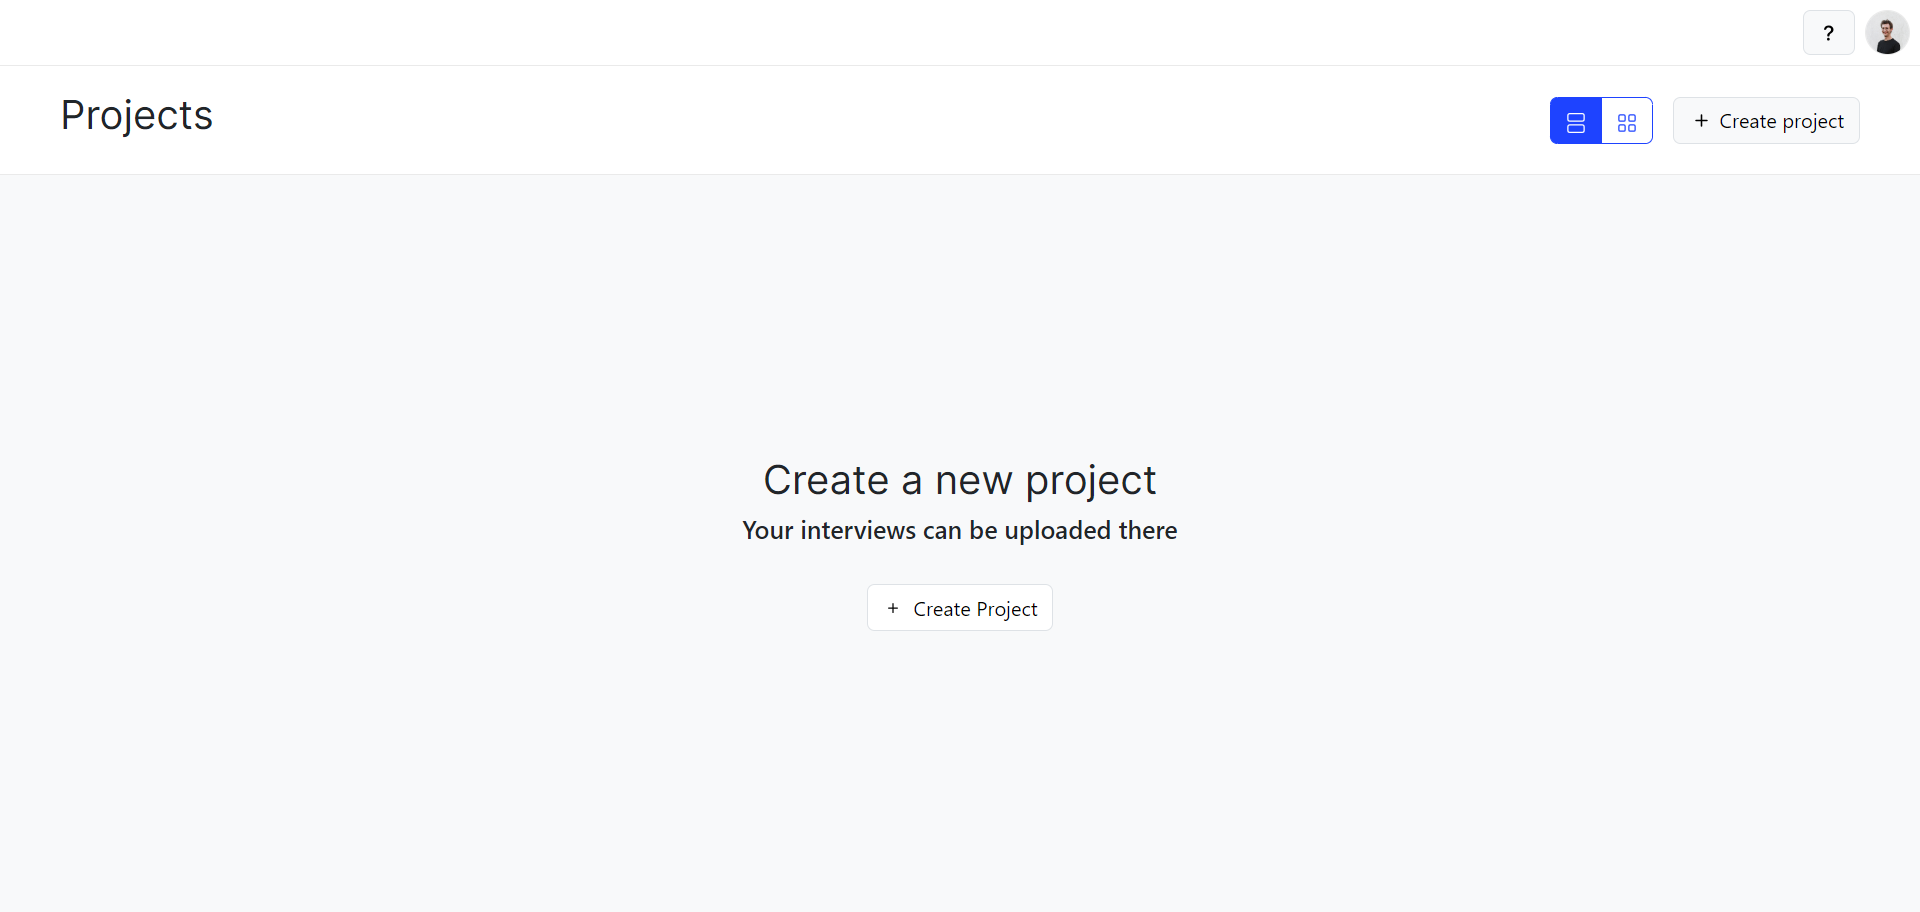
Step 2: Creating a Project
Once logged in, navigate to your dashboard and create a new project. Projects in Qanda are like folders that help you organize your transcriptions efficiently. Give your project a descriptive name to easily locate it later.
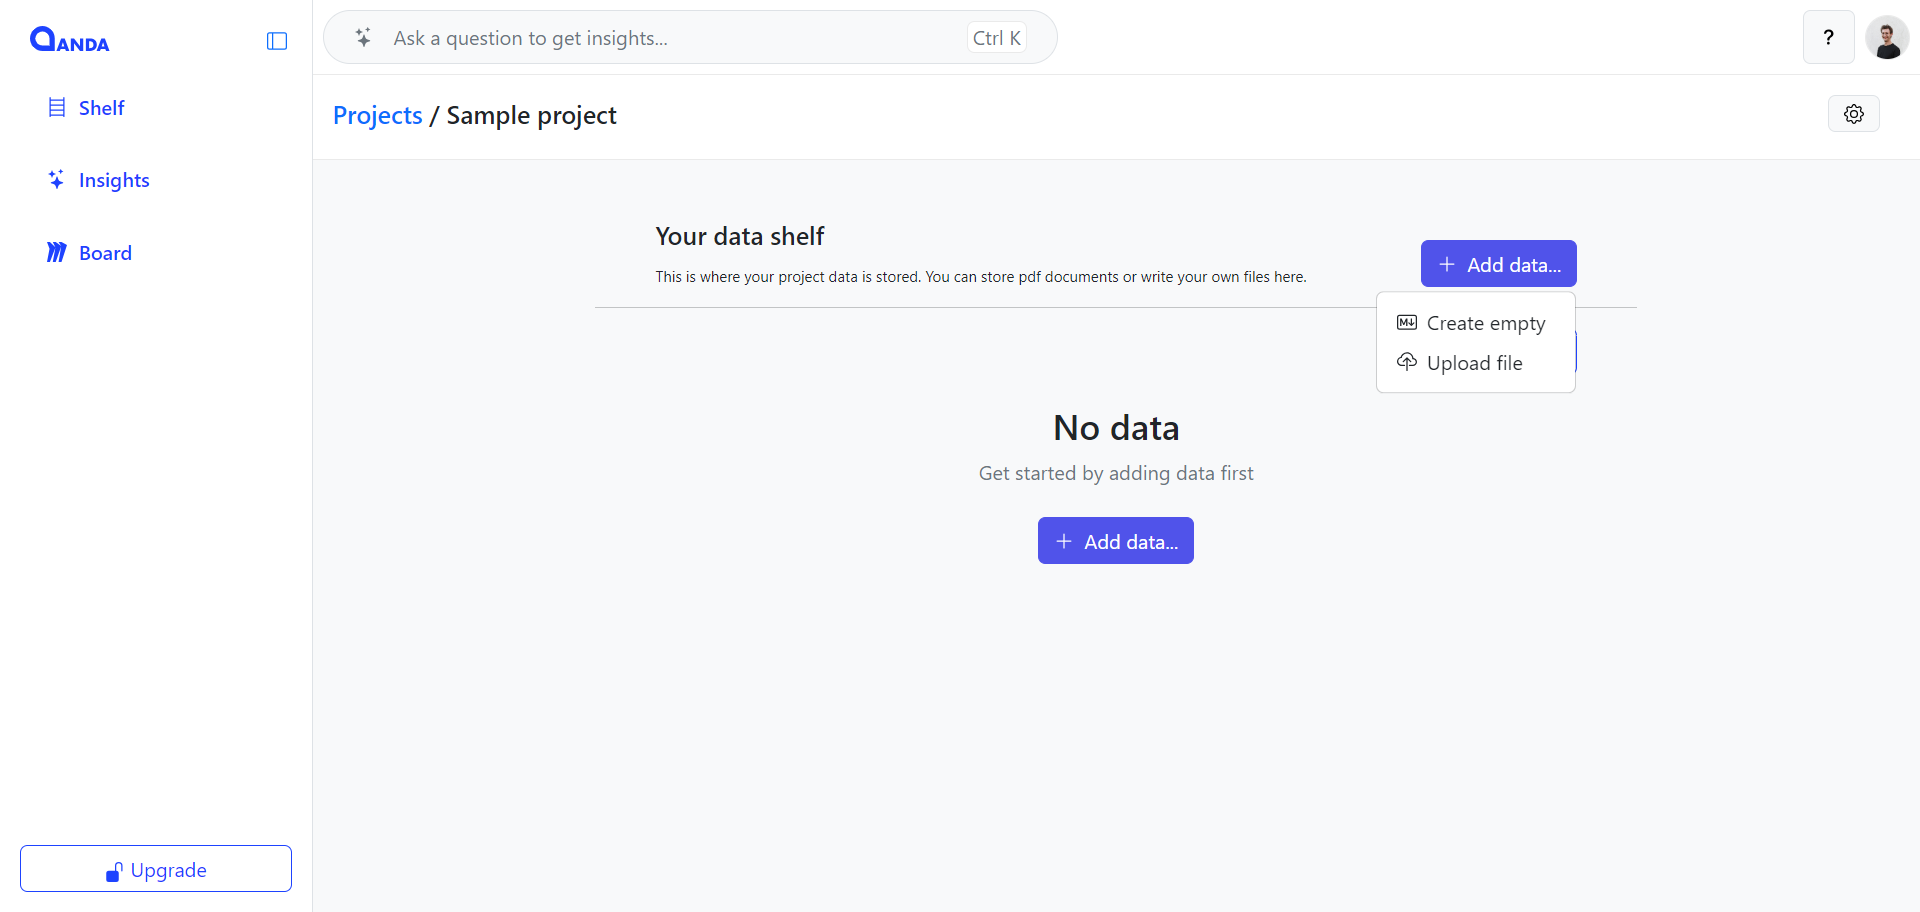
Step 3: Adding a Document
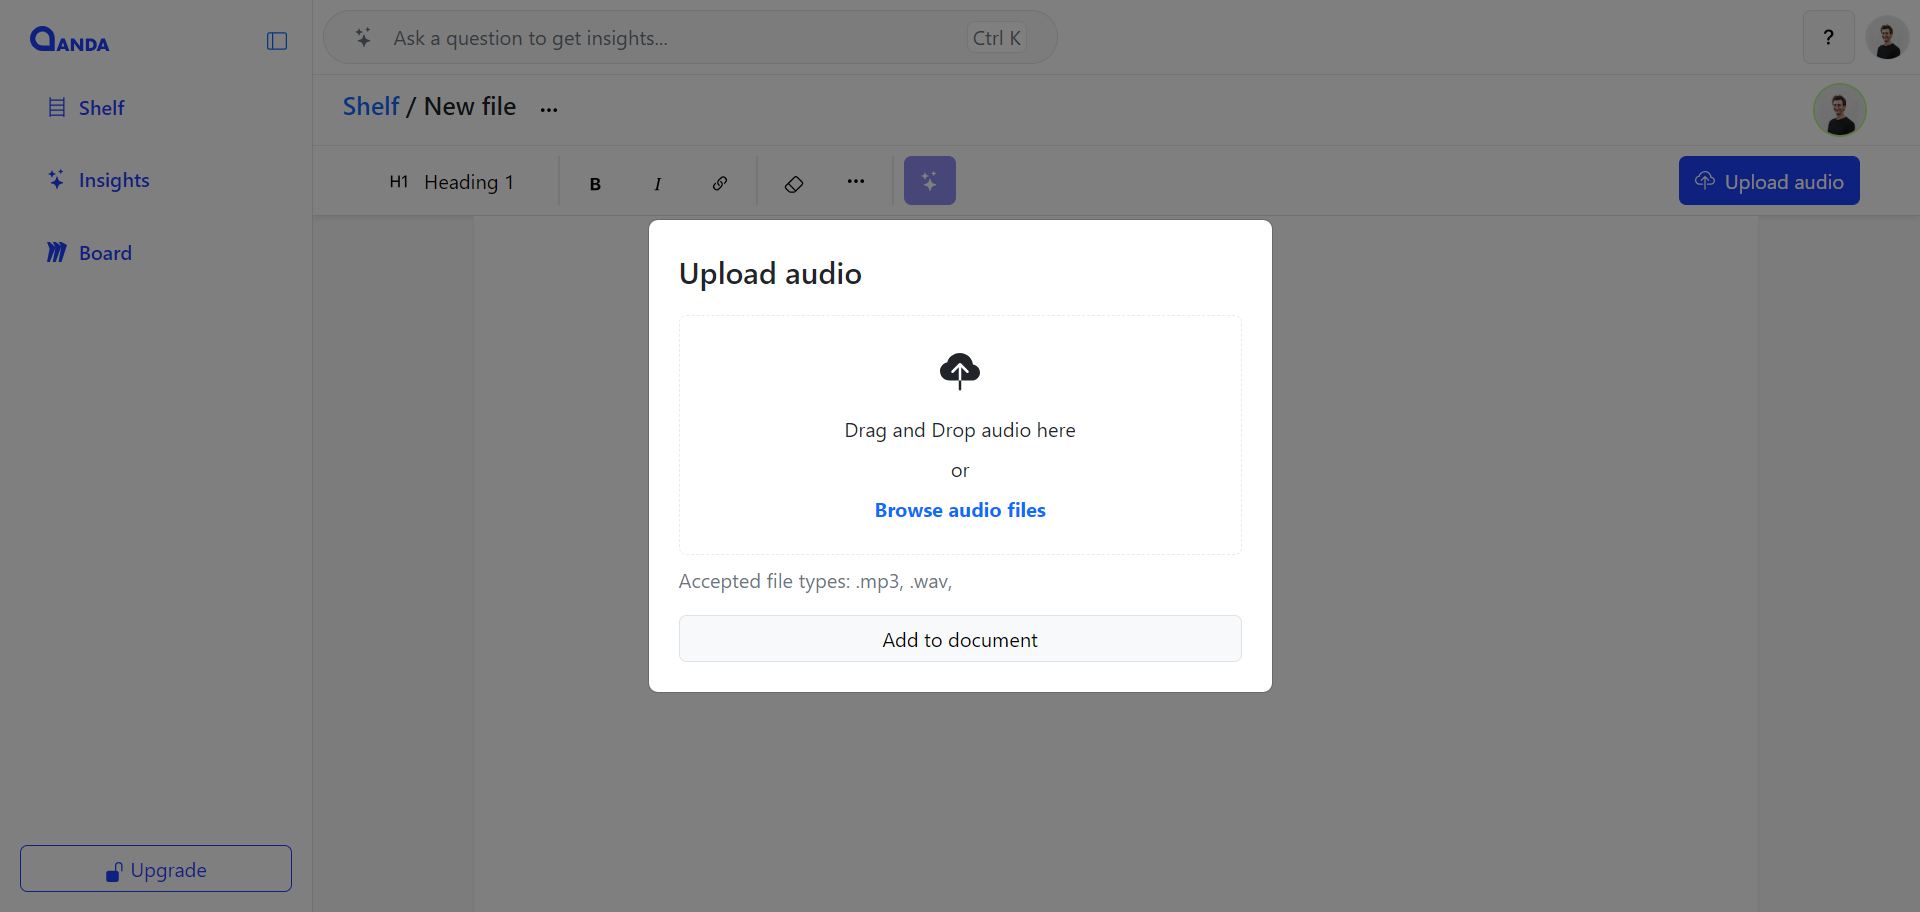
Inside your project, you can now add a document. A document in Qanda is where your audio files will reside. Click on "Add Document," and you'll be prompted to upload your audio file. Qanda supports both MP3 and WAV formats, ensuring flexibility in your transcription needs.
Step 4: The Live Editor
Once your document is uploaded, you'll find yourself in the Live Editor – a powerful tool within Qanda where the magic happens. Here, you have the option to play your audio file, making it easy to follow along while editing your transcription.
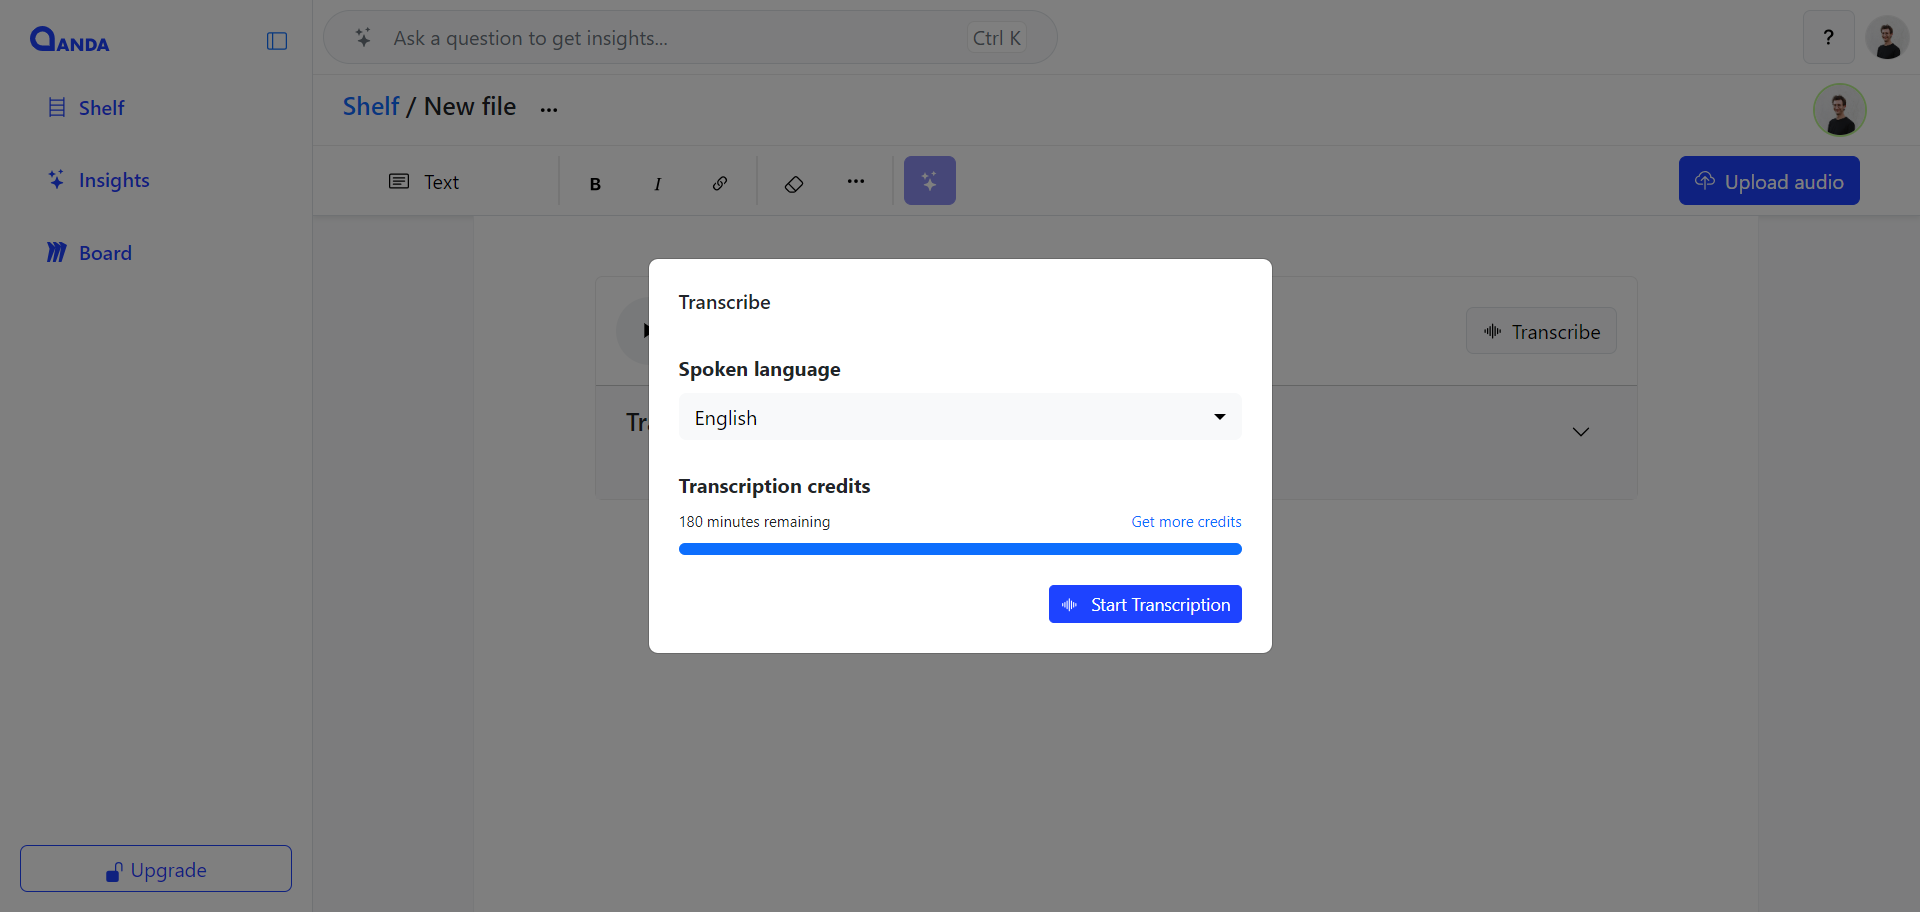
Step 5: Choosing Spoken Language
Before hitting the transcribe button, ensure you've selected the correct spoken language. Qanda supports a wide array of languages, allowing for accurate transcriptions. This step ensures that the algorithm understands the nuances of the language, resulting in a more precise transcription.
Press the transcribe button and watch Qanda work its magic. The transcription process may take a few minutes, depending on the length of your audio file. Once complete, you'll have a beautifully formatted transcript at your fingertips.
Step 6: Editing and Refining
Qanda's Live Editor allows you to make any necessary edits to your transcription. You can fine-tune the text, add punctuation, and make adjustments to ensure the final output meets your expectations.
Step 8: Managing Your Usage
Keep track of your transcription usage through the Qanda dashboard. With the free 3 hours per month, you can evaluate your needs and decide whether to stick with the free plan or explore one of Qanda's affordable subscription options for additional transcription hours.
Conclusion
Qanda has simplified the transcription process, offering a user-friendly platform that caters to both beginners and seasoned professionals. By following this step-by-step guide, you'll harness the full potential of Qanda's transcription capabilities, saving time and effort in converting audio into valuable text. Whether you're a journalist conducting interviews or a student transcribing lectures, Qanda empowers you to effortlessly transform spoken words into written content.